Introduction
This guide explains how to setup e-conomic for use with Cyclr, as well as how to obtain authentication from e-conomic and install an e-conomic Connector.
Setup & Authentication
Cyclr Partner Setup
1. Sign up for a free developer agreement (Video instructions)
- Go to the Developer Network homepage and sign up for a free developer agreement.
- After registering you will receive an e-mail with login credentials for your new developer agreement.
You will use the developer agreement to administer apps.
2. Create your app (Video instructions)
- Log into your e-conomic developer account and ensure you are on the Apps tab in the top left corner.
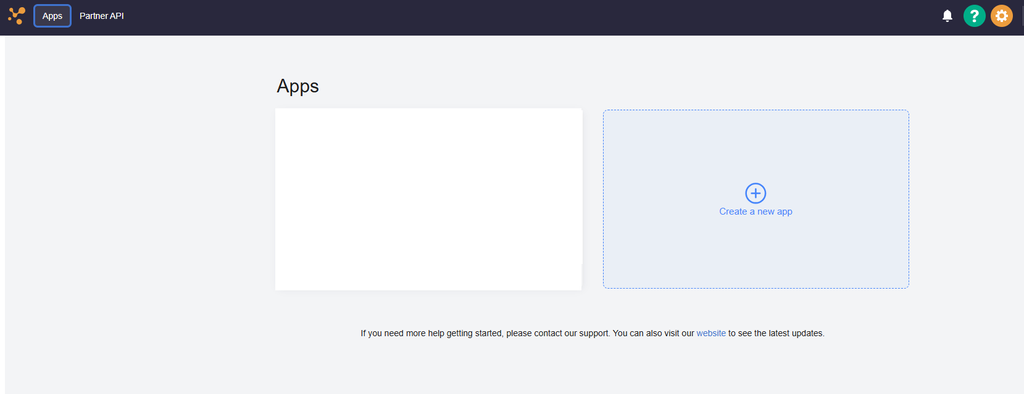
- Click “Create a new app”.
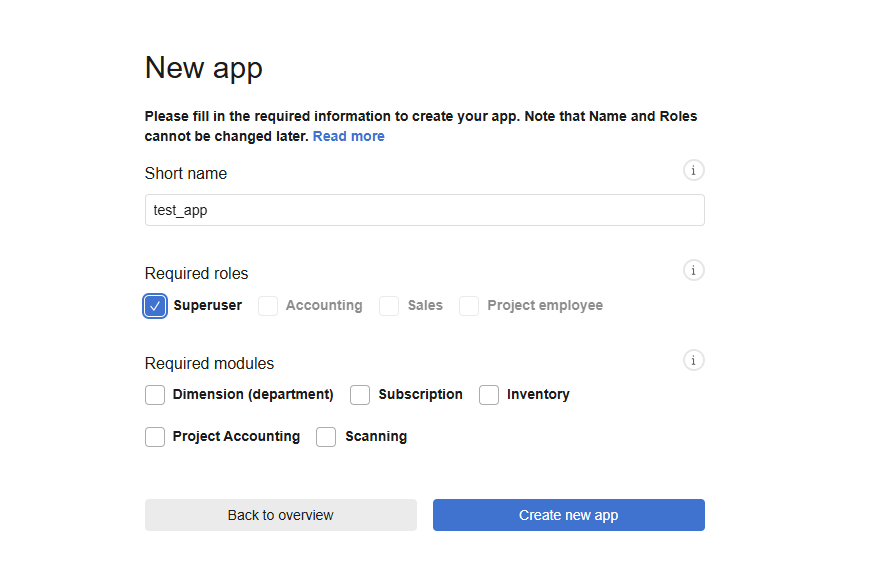
- Give it a descriptive name, select a fitting role (e.g. SuperUser for tests) and create the new app. Note: The “Required modules” is ONLY for apps headed to e-conomic market. You may ignore this for an app you will not be publishing.
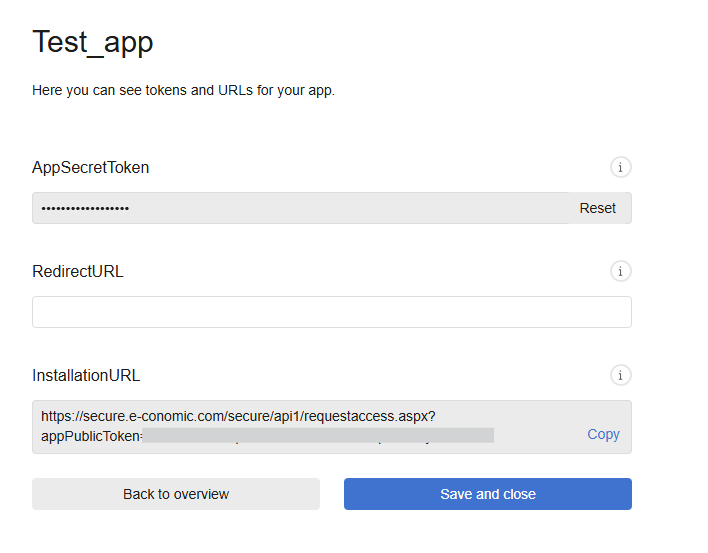
- Keep your AppSecretToken in a safe place as it will not be displayed again.
(you can generate a new one by clicking ‘reset’)

- Now click on the “Continue to Tokens” button to get the Installation URL for your app.
3. Gain access to accounting data (Video instructions)
- Send your apps “Installation URL” to the accounting user to generate their Agreement Grant Token. They will need this to authenticate the Cyclr e-conomic Connector.
Your Customer’s Setup:
Obtain an Agreement Grant Token from e-conomic.
- Ensure user is logged in with an end-user agreement containing accounting data.
- Using the installation URL sent to them by you, paste it in a web browser.
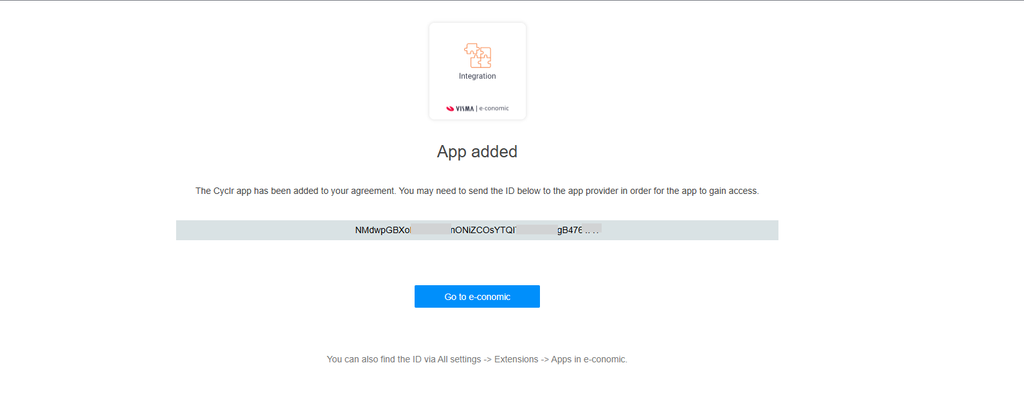
- The following page will appear:
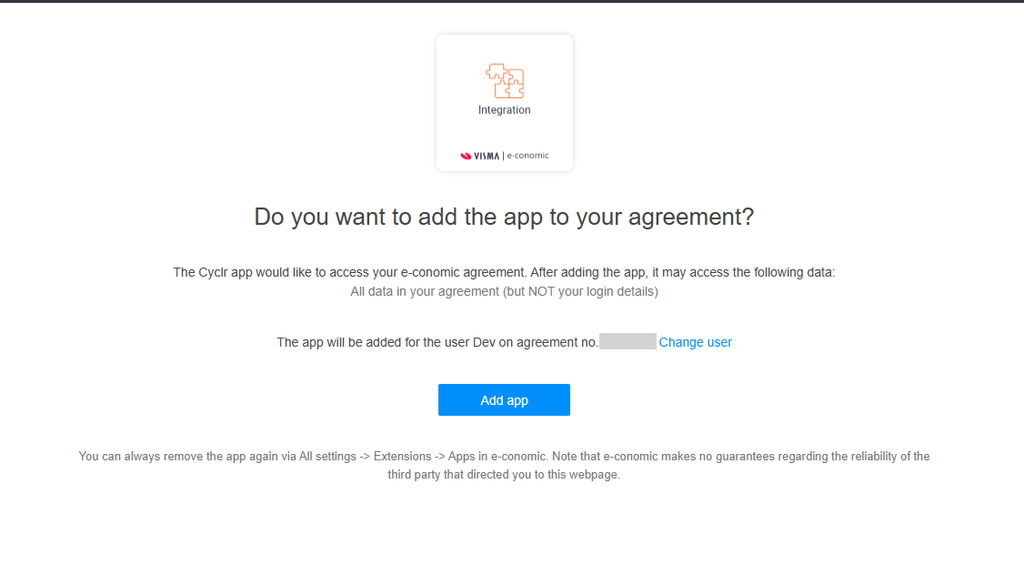
- Click on the Add app button.
- Copy the Agreement Grant Token as it is required when authenticating an e-conomic Connector.
Cyclr Connector Installation
When installing an e-conomic Connector, the following values are used:
| Value | Description |
|---|---|
| App Secret Token | The App Secret Token |
| Agreement Grant Token | The user Agreement Grant Token |