Connector Spotlight: Stripe
Stripe is a popular financial infrastructure platform that helps businesses accept payments both online and in-person. It offers a full suite of products for payments, billing, and issuing, anything you might need to manage revenue operations and build financial services.
Cyclr’s Stripe Connector makes integrating Stripe directly with your SaaS quick, efficient, and scalable, ensuring you can deliver reliable payment experiences to your customers. We explored how you can unleash Stripe’s full potential with Cyclr.
Setting up the Stripe Connector
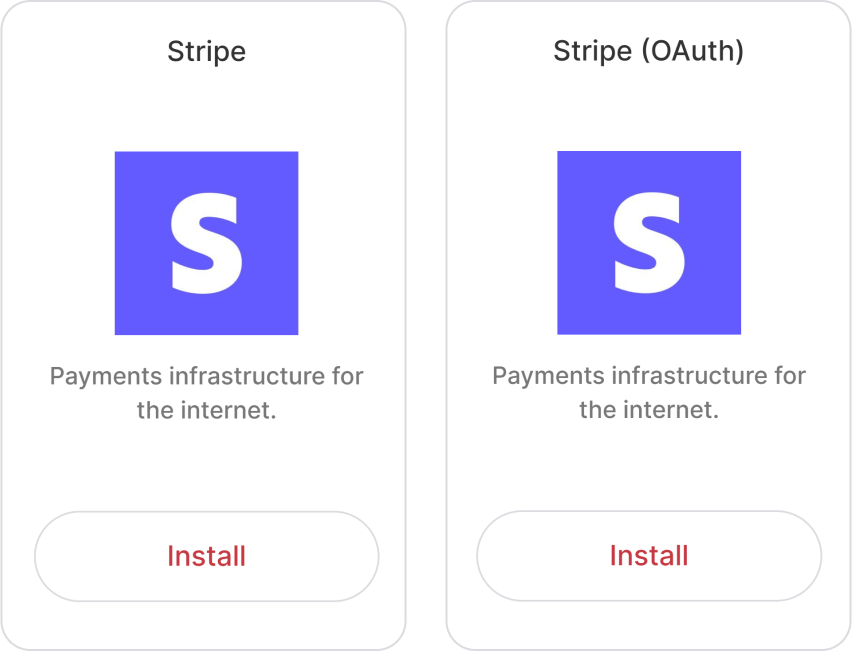
There are two Stripe Connectors in Cyclr’s Application Connector Library, differentiated by their authentication methods. There is Stripe, which uses API Key authentication, and Stripe (OAuth) that, as the name suggests, uses OAuth for its authentication method.
The setup for both of them is quite straightforward: you simply navigate to the Application Connector Library and use the search to find your desired Stripe connector. Then click open the menu behind the three dots button, and select “Install Connector”. You will then be taken through the authentication process.
Both authentication methods will require you to set up an app inside Stripe. You can follow the guide for how to create one on the Stripe developer documentation. The app can use one of three methods to authenticate requests to the Stripe API: Platform Key, OAuth 2.0, and Restricted API key. You can use the Stripe connector for both the Platform Key and Restricted API Key apps, whilst for any app using OAuth 2.0 authentication should be set up in Cyclr through the Stripe (OAuth) connector.
Next, let’s take a look at how you can authenticate each of the connectors.
![]() Bear in mind that any authentication you provide when you are installing the connector will only apply to your partner console, allowing you to test the workflows that use the connector authentically. Your end-users will have to authenticate the connector with their own credentials once they install a template that uses the connector.
Bear in mind that any authentication you provide when you are installing the connector will only apply to your partner console, allowing you to test the workflows that use the connector authentically. Your end-users will have to authenticate the connector with their own credentials once they install a template that uses the connector.
Stripe API Key
Step 1: Obtain the API Key
To obtain your Stripe API key, follow these steps:
- Access the Stripe Dashboard: Log in to your Stripe account and navigate to the API Keys section.
- Locate Your API Keys: In the API Keys section, you’ll find both your Publishable keys (used on the client-side) and Secret keys (used on the server-side).
- Reveal the Secret Key: For security reasons, the full secret key is hidden by default. Click on the Reveal live key button to display the full key.
- Securely Store the Key: Once revealed, copy the secret key and store it securely. Avoid exposing this key in client-side code or sharing it publicly.
Remember, your secret API key carries significant privileges, so handle it with care to prevent unauthorized access to your Stripe account.
Step 2: Input the Credentials
Once you have your API key ready, go back to the Cyclr console to continue the connector’s setup. Provide the API Key in the prompted field, and follow the login process to finalize the authentication. After that, it will become available for your use in the Builder and your Template Connector library.
Stripe (OAuth)
Step 1: Obtain Stripe Credentials
Begin by logging into your Stripe dashboard and locating your required credentials:
- Client ID: Within your Stripe account, navigate to Connect settings. Enable OAuth for Standard accounts and add your Cyclr Partner Console’s Callback URL as a Redirect URI. Make note of your Live mode client ID, or the Test mode client ID if you are working in a testing environment.
- Secret Key: Access the API settings area in your Stripe dashboard, select Reveal live key (or Reveal test key), and make note of the Secret Key carefully.
Step 2: Input the Credentials
Let’s go back to the Cyclr Console and continue the installation. Input the Client ID and Secret in their relevant fields, and select Next. You will be taken through a login process to finalize the authentication. After that, the connector will become available for your use in the Builder and the Template Connectors library.
Account or Console Setup?
When setting up the Stripe OAuth connector in Cyclr, you have two options:
- You can enter your own Stripe credentials at the Console Setup level in the “Installation User Experience” area before you install the connector. This means all your users will use your Stripe account by default.
- Or, you can leave those fields blank and let each user enter their own Client ID and Client Secret during Account Setup.
If your SaaS platform has users who need to connect their own Stripe accounts, for example, online shops or service providers managing their own payments, you can use Cyclr’s Account Setup feature to give them that flexibility.
This second option is perfect if you’re building a composable commerce solution and want your users to connect their individual payment accounts securely. Each user controls their own Stripe credentials, but you don’t have to build the integration logic from scratch. However, you will still need to authenticate the connector for yourself to be able to use and test it when building templates.
For Console Setup, if you want your end-users to be able to use your OAuth 2.0 credentials, you can put in your own Client ID and secret in the “Installation User Experience” area before you install the connector. To do this, instead of accessing the three dots next to the connector directly, click on the pencil icon instead to open the “Installation User Experience” popup, and select the Settings tab. This is where you can provide the OAuth credentials on Console level so that they will be used by default if the connector is installed to an account.
Once done, click on Save, and follow the above installation instructions as usual.
Example Use Cases
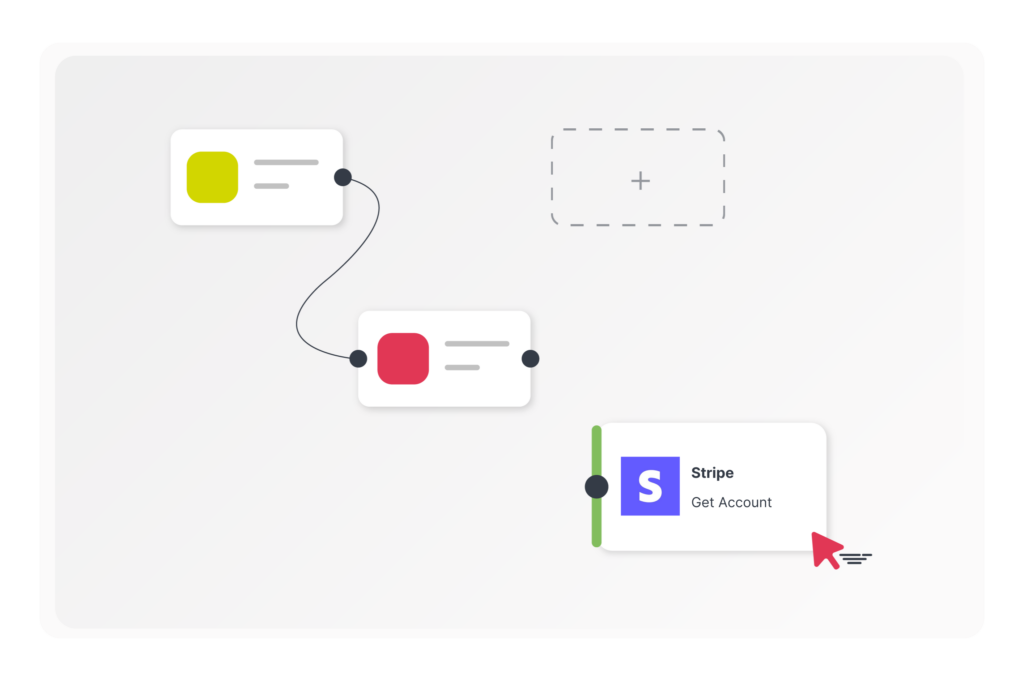
The Stripe Connector comes with a variety of ready-built methods to build practical, useful workflows that simplify financial management tasks. Here are some common integration ideas using Stripe alongside other popular SaaS tools.
These use cases showcase how combining Stripe with other tools can help you automate key processes, reduce manual data entry, and improve customer-facing workflows.
Keep CRM and Billing in Sync
Integrating Stripe with a CRM like HubSpot ensures customer data stays aligned across systems. When a user signs up through your platform, a workflow can automatically create a customer record in Stripe and a corresponding contact in HubSpot. This maintains consistency between billing and marketing systems. If your onboarding process includes subscriptions, the same workflow can include a Stripe “Create Subscription” step.
Automate Accounting Reconciliation
Integrating Stripe with accounting tools such as QuickBooks or Xero allows you to automate financial reconciliation. If you used the “List New Balance Transactions” method from Stripe to retrieve only the most recent transactions since the last cycle run, you could map it to the corresponding invoice or payment records in your accounting software. This would allow you to reduce manual data entry and minimize errors, providing your finance team with accurate, up-to-date revenue records pulled directly from Stripe’s ledger.
Trigger Marketing Campaigns Based on Payments
Marketing automations are another powerful use case. You could, for example, monitor payment behavior by using “List New Charges” or “List New Subscriptions” to identify newly completed payments or sign-ups. When a relevant event is detected, the customer can be added to an email campaign or tagged within a marketing platform like Mailchimp. This enables timely, personalized marketing follow-ups based on the actual financial engagement of your users.
Conclusion
Cyclr’s Stripe Connector provides your SaaS platform with essential tools for seamless financial operations and improved customer interactions. You can use it to pull payment data into your accounting system, automate customer onboarding, or keep your marketing tools in sync. It helps to reduce repetitive tasks and keep your systems working together without manual effort.
It’s often helpful to begin with tasks your team handles regularly, such as creating customers, processing charges, or syncing invoices. From there, you can build out more workflows as your needs grow. The connector supports both shared credentials and account-level authentication, so it can be configured to suit different use cases.
As your integration needs evolve, you may find more ways to take advantage of what Stripe’s API can offer. Cyclr provides the tools to experiment and improve your workflows over time, without having to rebuild from scratch each time something changes.
Need something more?
Should you need to access something in Stripe’s API that’s not currently available in the connector methods, just let us know and we can add it to the connector for you!